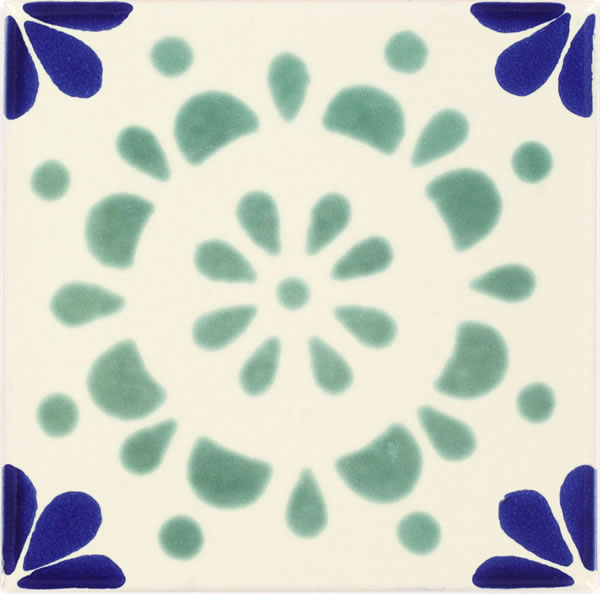
Mexican Talavera Tile
PLEASE NOTE: All sizes posted for our Mexican talavera tile on this website are nominal sizes (not actual size). Due to the handcrafted nature of our talavera tiles.
Also, note that the height and length of a tile may not be the same. Measurements within a tile may vary by as much as 1/8 in. Handcrafted Mexican Talavera tiles are not perfectly square.
How to install Wall Talavera Mexican Tile
Mexican ceramic tile provides a beautiful, long lasting wall that's easy to take care of and is almost impossible to mark or stain. You can install wall talavera tiles literally any place you want to be able to enjoy their beauty, but the obvious locations are in kitchens such as backsplashes or countertops, and in bathrooms and showers. Other places where Mexican ceramic tile can be use are tabletops, , floor inserts, baseboards or most wall commercial applications.
Preparing the Wall.
Mexican ceramic tiles can be installed directly on drywall, plaster, or if they are in moist areas, onto "green" drywall or even better cement backer board. Green drywall is specifically designed for use in bathrooms. It's as easy to work with as ordinary drywall, but it's specially formulated to resist moisture. Its best use is in a kitchen or bathroom where the environment will get moist, but not where it will actually be exposed to water.
Laying Out Your Mexican Tile Pattern.
Find the center of your wall and use a carpenter's level to mark intersecting plumb (vertical) and level (horizontal) lines. Dry fit the first row of tiles starting at the center and working your way to the ends of the wall. You want the tiles at both row ends to be approximately the same size, so you may have to adjust your vertical reference line to make them match up.
Installing Mexican Tile.
Starting in the center, on one side of your reference line, apply a coat of tile setting adhesive to an area about 3' by 3' square. Take care not to cover your lines. Spread the adhesive with the smooth side of your notched trowel and then go over it with the notched side to create ridges in the adhesive.
Firmly press each Mexican tile in place and give it a slight twisting motion to be sure it makes good contact with the adhesive. As you work your way along, place tile spacers on all four sides of each tile, so your grout lines will be consistent. Take your time and work on the wall in three square foot sections.
At the end of a row or around fixtures, you'll probably need to cut some tiles. A ceramic tile wet saw cutter is the easiest way to make your straight cuts. Using this tool, score the cut line on a full tile and then snap the tile along the scribed line.
Cutting irregular shaped tiles or around obstructions will require using "tile nippers." These are a heavy duty hand tool that you use to "nip" or bite off little pieces of a tile, one at a time, until you have cut the needed shape.
These tips are meant as a helpful resource. Mexicantiles.com is not responsible for any wrong installation, misuse, or damaged caused by the direct or indirect use of the content in this article. MexicanTiles.com strongly suggests consulting a licensed contractor.
Grouting Mexican Tile
After the tiles have all been installed and the adhesive has set up (probably overnight), it's time to grout the tiles. Depending on the width of your grout lines, you will need to choose either sanded or un sanded grout. If the spaces between the tiles are bigger than 1/8", use sanded grout. (Sanded grout actually contains sand particles that help make the grout joint stronger.)
Remove all your tile spacers and mix the grout following manufacturer's directions. If you're grouting in a bathroom or kitchen area, be sure your grout includes a waterproofing agent. Ask or read the manufacturer information to be sure you get the right grout.
Using a rubber float, apply the grout at a 45-degree angle to the grout lines. Press firmly; you want to get grout all the way down to the bottom of the seams. Work in your 3' x 3' areas to be sure you get uniform coverage of all the grout lines. Wipe off any excess grout with a wet sponge and clear water.
After the grout has had about 30 minutes to dry, go back over sections with a soft cloth and buff away any grout haze.
Finishing the Installation of Mexican Tile
Let the grout dry for a day and again buff away any grout haze that has appeared. If your wall is in a kitchen or bathroom, use a mildew resistant silicone caulk to seal the edges of the ceramic tile section where it meets the counter or top of the tub.
|